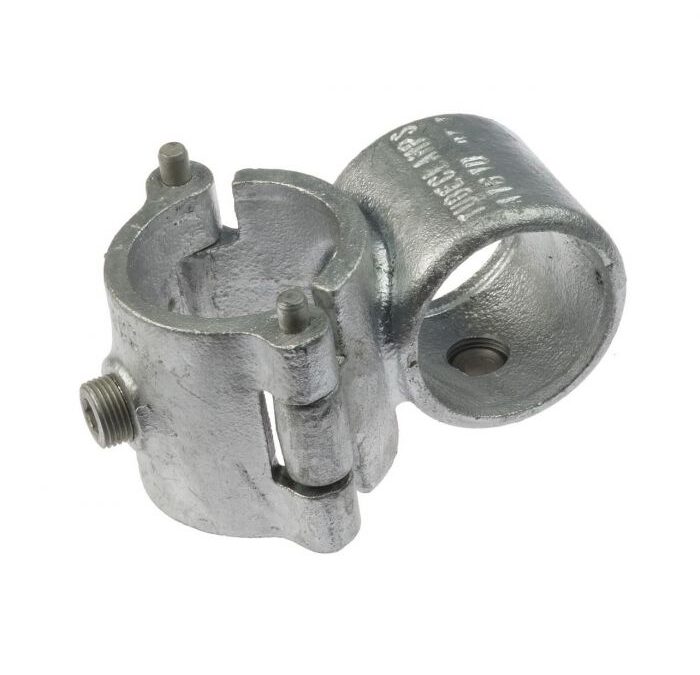
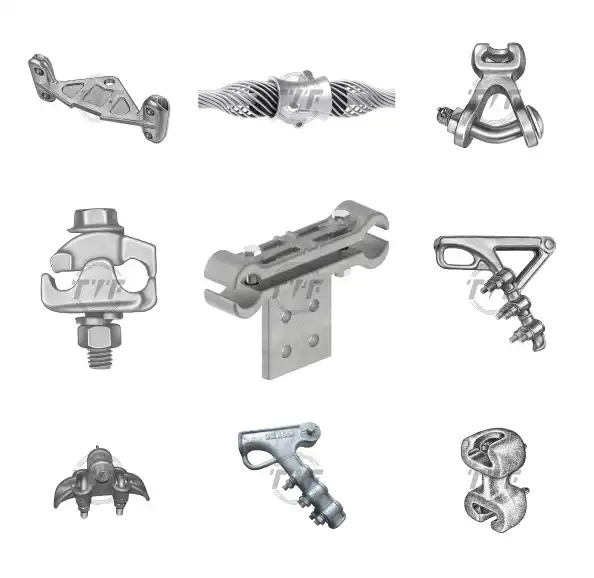
Crossover clamp conduit the space between conductors and provide even power flow at crossing places. They keep currents humming along their designated routes by maintaining alignment and continuity. These essential clamps remove the threat of short circuits and electrical interruptions. This is by maintaining a safe spacing between conductors. Bolted halves combine in designs according to voltage, size and environment. Each bolted half supports its conductor in designated grooves. They are from strong materials that are both resilient and conductive. Crossover clamps are silent guardians that protect the grids main components. Common types include hydraulic crossover clamps, cable crossover clamps and pipe crossover clamps. Crossover clamps find use in applications such as power lines, telecommunications lines and construction.
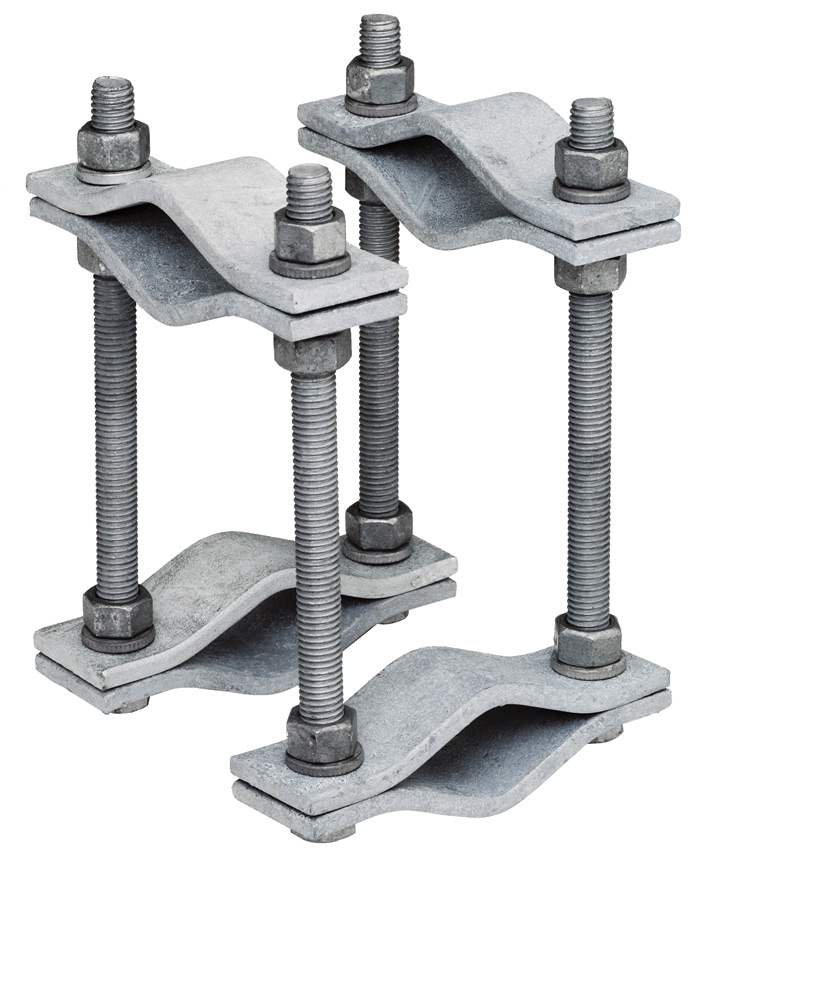
The various features of crossover clamp
Crossover camps contain various components that enhance the functionality, durability and versatility. Careful consideration of the features ensures the best selection for your application needs. The following are the various features of crossover clamps.
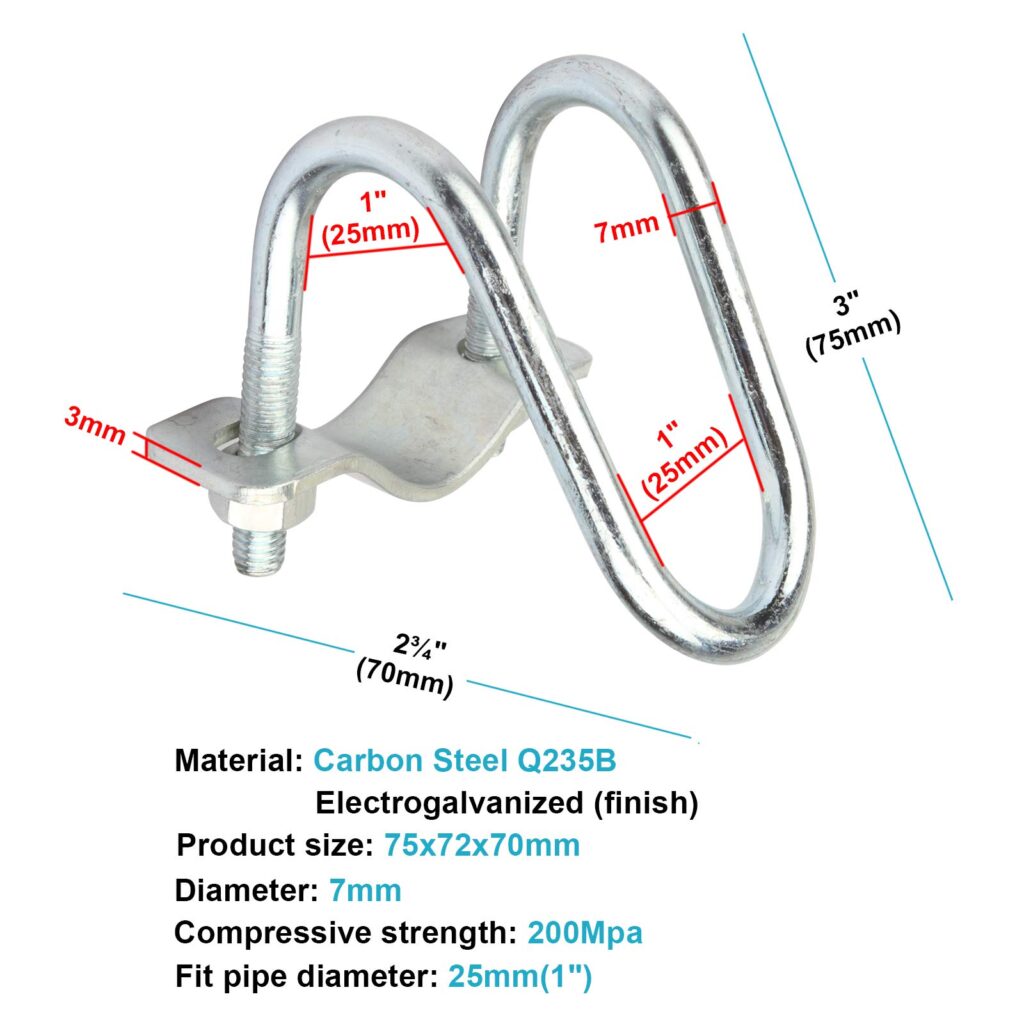
- Locking mechanisms – the clamps have a secure locking mechanism that ensures it stays in place after installation. This prevents movement and ensures the stability of the connected pipes.
- Load capacity – crossover clamps with the suitable load capacity helps to ensure proper management of weight and stress of the pipes.
- Grooves – the clamp has two halves that connect through bolts, pins and other mechanisms. Each half has grooves designed to accommodate and hold the conductors.
- Conductive materials – the clamps are from materials with high electrical conductivity. these materials include galvanized steel, aluminum and composite polymers.
- Mechanical strength – they are also from materials with high mechanical strength. This helps to withstand tension loads and conductor movement.
- Insulation – some of the designs incorporate insulating materials between the clamp and the conductor. This provides extra protection to the conductors.
- Specialized designs – the clamps have designs specific for high voltage applications, different conductor sizes and materials.
- Temperature resistance – this feature is helpful in applications where the clamp installs in areas with high or low temperatures.
- Adjustability – this feature helps the clamps to accommodate different pipe or conduit sizes. This helps to provide flexibility which allows them to work in various applications.
Tools required for crossover clamp installation
The installation of the crossover clamps requires some tools that help ensure a secure and efficient connection. Use of the right tools and proper installation procedures results in a secure and reliable connection between pipes. Additionally, it is advisable to follow the manufacturers guidelines and recommendations for the specific crossover clamp used. The following are the various tools and equipment needed for crossover clamp installation.
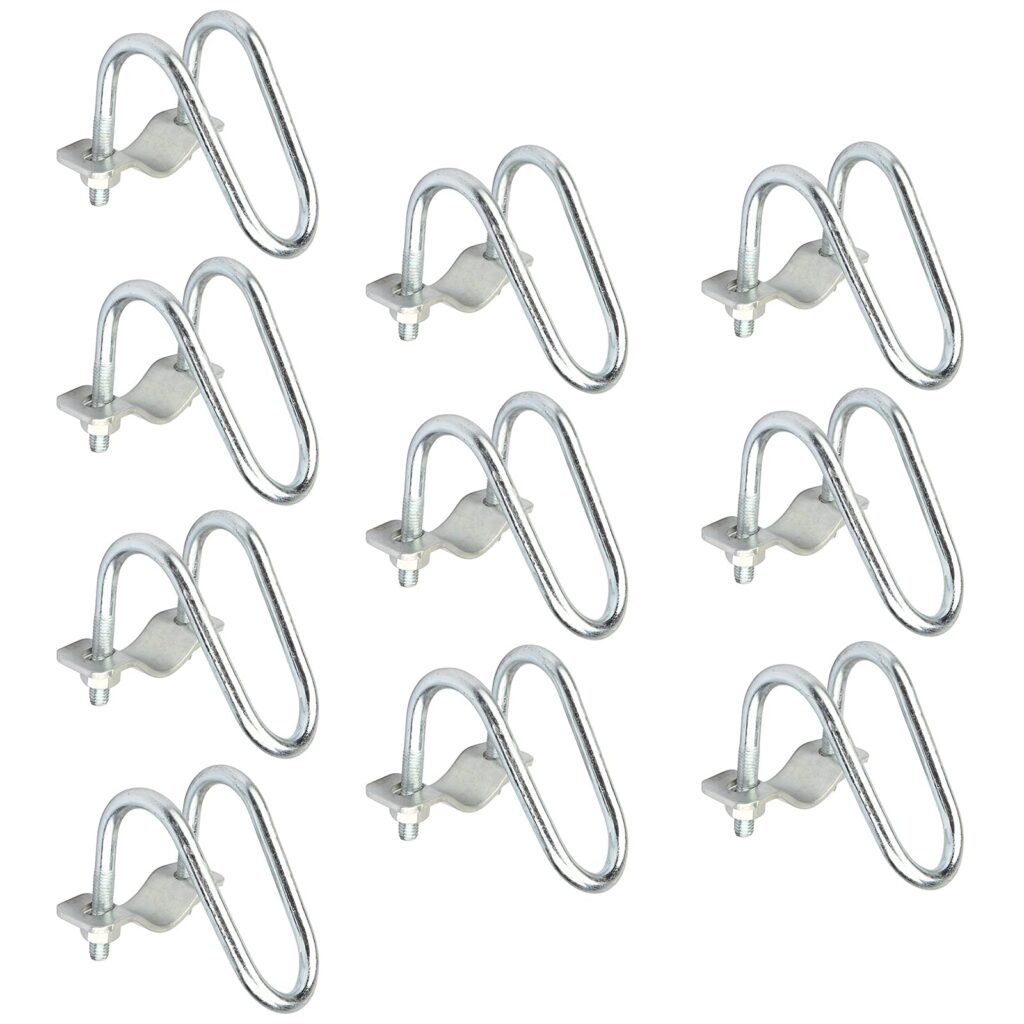
- Wrenches – this tool helps in tightening and securing nuts and bolts on the crossover clamp. There are various types of wrenches such as adjustable wrenches, combination wrenches and socket wrenches.
- Screwdrivers – this help in the installation of screws or other fasteners on the crossover clamps. Common types include flathead and Philips screwdrivers.
- Tape measure – the tape helps in measuring the correct distance between pipes for precise installation. This helps to ensure accurate placement of the crossover clamps for secure fits.
- Level – this helps in checking the pipes alignment which helps prevent issues such as uneven pressure on the crossover clamp.
- Torque wrench – this is important for ensuring proper and consistent tension on bolts. This prevents overtightening or potential damage.
- Crimping tool – crimping tools help in attaching extra components to the installation.
- Cable cutters and strippers – this helps during conductor preparation before installation. It helps to ensure a proper fit and allows for adjustments based on installation requirements.
- Lubricant – applying a light lubricant to bolts helps with smoother tightening and prevent seizing.
- Socket and socket wrenches – this are helpful for clamps that employ sockets for fastening.
- Safety gear – this includes gloves, safety glasses or other protective equipment. They are essential for protecting yourself from falling debris, sharp edges and electrical hazards.
- Pipe thread sealant – applying the sealant to threaded connections helps to prevent leaks. It also enhances the seal and helps maintain the integrity of the connection.
Safety precautions to follow during crossover clamp installation
It is important focus on safety by adhering to safety regulations and seeking help from qualified professionals. This helps to ensure a safe and successful crossover clamp installation process. it also helps to prevent accidents, injuries and damage. Also, it is advisable to create a safe working environment with minimal risk of accidents. The following are the safety precautions to follow when installing crossover clamps.

- Personal protective equipment – this includes safety glasses, gloves and other necessary protective gear. This helps to protect against potential hazards such as sharp edges, flying debris and contact with chemicals.
- De-energization – ensure the lines are de-energized according to safety protocols before installing the clamps.
- Work area security – secure the work are with warning signs and barriers to restrict access for unauthorized personnel.
- Worker meeting – conduct a meeting before the installation with the team to discuss procedures, hazards and emergency plans.
- Inspect tools and equipment – inspect all the tools before the installation to check for damage or defects. This helps to reduce the risk of accidents due to malfunctioning equipment.
- Manufacturer’s instructions – follow the manufacturers guidelines for the specific crossover clamp. This ensures proper installation and use of the clamp.
- Inspection – verify all the connections to check tightening and no loose components before energizing the lines.
- Post installation inspection – after energization of the lines, inspect the clamps and connections to ensure proper functioning.
Installation procedure for crossover clamps
Installation process for the crossover clamps varies depending on design, type of clamp and need. The process involves connecting and supporting pipes at crossover points. The following is a step-by-step installation process of the crossover clamps.
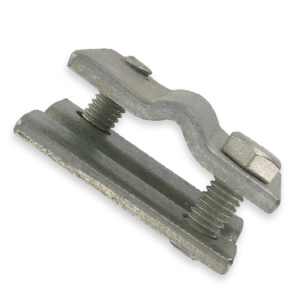
- This involves ensuring the work area is safe and accessible. This also includes wearing personal protective equipment and ensuring the power is de-energized.
- Use a tape measure to measure and mark the desired distance between the pipes at the crossover point. Ensure accurate measurements to avoid misalignment.
- Locate the point where the conductors cross each other where the crossover will install. This will maintain proper alignment and electrical continuity.
- Clean the surface of the conductors at the crossing points to remove any dirt, grease or oxidation. You should also inspect the conductors for any damage or irregularities that may affect the installation or performance of the crossover clamp.
- Prepare the clamp to ensure it is in good conditions and appropriate for the conductor size, type and voltage level. You should also check for any specific installation instructions from the manufacturer.
- Use a pipe cutter to cut the pipes to the required length and use a file to smooth the edges and remove any husks.
- Position the crossover clamp over the crossing conductors and align the grooves with the conductors. Also, ensure the clamp centers and is properly seated on the conductors.
- Insert the bolts through the holes in the crossover clamp and ensure they align with the holes in the pipes. Add nuts to the bolts and avoid overtightening.
- Secure the clamp using the appropriate fastening mechanisms to secure the two halves of the clamp together.
- Verify the crossover clamp has securely held the conductors in place. This also maintains proper alignment and separation. Ensure there is no contact or interferences between the conductors.
- Inspect the installed crossover clamp to ensure there are no defects, loose connections or signs of damage. These tests and inspections ensure proper electrical continuity and systems integrity.
- Clean up any debris or waste generated during the installation to leave the work area in a safe condition.
Maintenance activities for crossover clamps
Regular maintenance of crossover clamps is important due to the challenging climate and environmental conditions. It helps to ensure the durability, reliability and safety of crossover clamps in transmission line installations. The following is a basic guide on maintenance for crossover clamps.
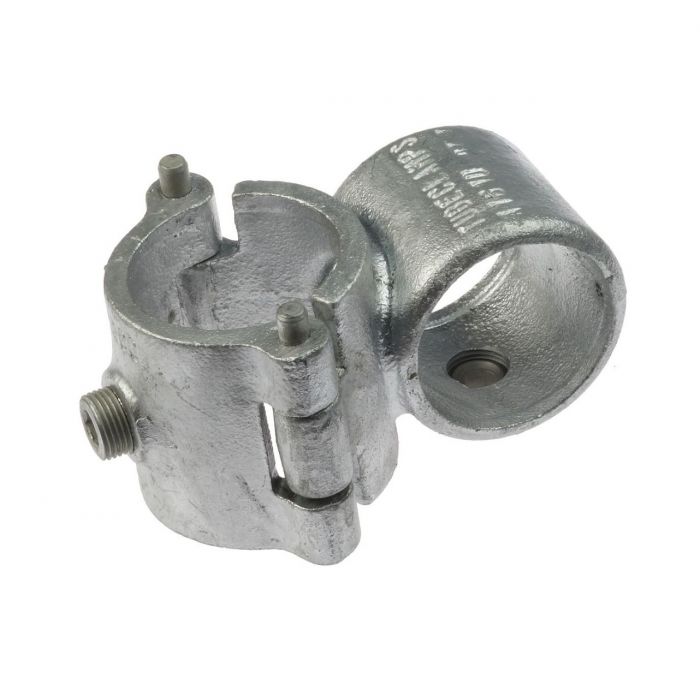
- Establish a regular inspection schedule for crossover clamps especially for humid and varying climate conditions.
- Perform visual inspections to check for signs of corrosion, wear or damage of the crossover clamps. Check for loose bolts, cracks or changes in alignment.
- Enhance anti-corrosion measures and apply corrosion-resistant coatings or materials.
- Clean the crossover clamp to remove dirt, debris and any contaminants that could speed up corrosion.
- Verify that the crossover clamp maintains the proper spacing and alignment between the conductors.
- Periodically check the mechanical load of the transmission lines. Also, check for any signs of deformation or stress on the crossover clamps due to tension or wind.
- Check the tightness of the bolts and fasteners on crossover clamps to increase the effectiveness and safety.
Frequently asked questions
The clamps ensure the safe and reliable transmission of electricity from one point to another. This helps to securely connect and support two overhead power lines at crossing pints.
Common materials for crossover clamps include aluminum and composite materials. They offer high strength, low weight and vibration dampening qualities.

